I've been trying to 3D print various things for the last couple of weeks, mainly miniatures in different scales, to test the ability of my Sparkmaker to contribute to my hobbies. There were hits and misses, and I've learned a lot about how to use my printer.
For gaming miniatures, first I tried to print an Epic scale Tau Tigershark bomber, the one with two large railguns on the front, and I immediately ran into an issue with the top right side of the bomber "collapsing". In the right picture above, you can see a hole in the model where the resin didn't fully solidify. It actually looks like ripped fabric. I originally thought it was because part of the model got stuck on the bottom of the resin vat and the print didn't complete.
However, I did three more models, and all of them had exactly the same problem, which pointed to something with the file I was using. I think I've fixed it, but I haven't had a chance to try it again before I moved onto other models.
The above is a size comparison for the model with a painted Forgeworld Tigershark bomber on the left. They match very well in scale.
Next, I tried to print some Imperial Thunderbolt fighters, also in Epic scale. I used a file from Thingiverse for a larger model and scaled it down. The problem is that I forgot to thicken some of the thinner pieces for the smaller model size. The wings especially drooped quite a bit since they ended up extremely thin. I had to use a 3D modelling program (DesignSpark Mechanical) to thicken the wings, which allowed me to have usable models. These were quite nice when they were finally done.
I then printed some Imperial Marauder bombers, also from Thingiverse, and they ended up beautifully the first time around. I'll have to get around to painting these Epic miniatures to see how well they hold paint.
Then I moved onto 15 mm WWII. I have a whole bunch of unbuilt 15 mm models, but since I'm preparing a Canadian force, I want some kangaroos. Being a big fan of plastic in 15 mm scale, I don't actually have any kangaroo models, none of which is available in plastic. Again, Thingiverse came to the rescue.
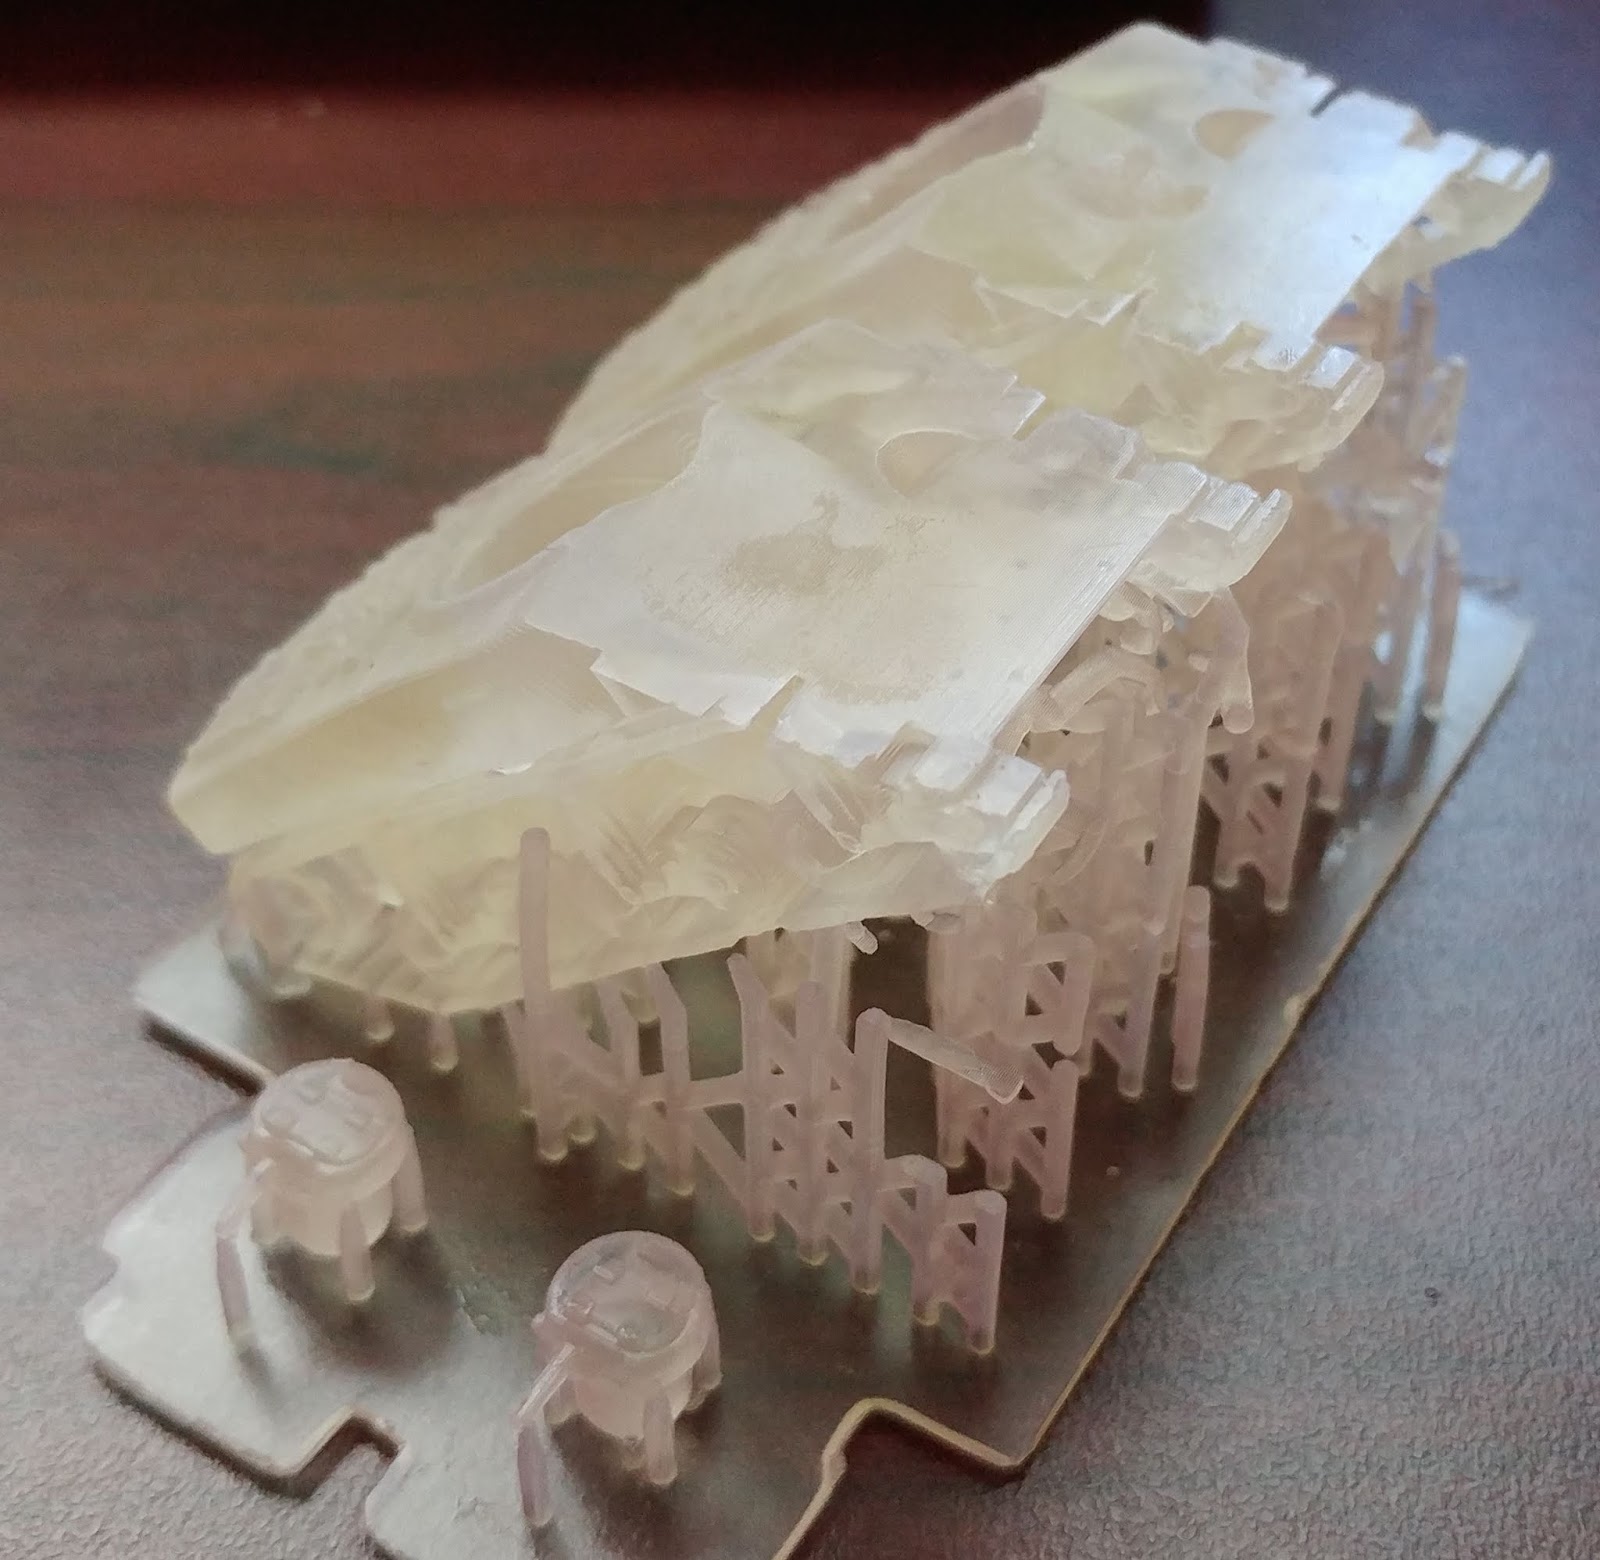
I took a Ram Kangaroo model from Thingiverse, put two of them in one build, and added supports, which are a necessity for a lot of SLA 3D printing jobs. However, my first print ran out of liquid resin in the middle (darn you, Sparkmaker's too-small resin vat!) The result was a couple of kangaroos with the front neatly "sliced" off.
The second time, I learned my lesson and refilled the vat somewhere in the middle of the print to keep things going. This time the job completed.


The result was quite impressive. The pictures above show the models cut out of their supports. The right picture is a super close-up that unfortunately shows too much of the print lines on the model. When painted up though, I don't think they will be visible.
Finally, just to show that I haven't exhausted all the scales, I also tried making some 1/6000 scale modern naval models. I have a number of 1/6000 modern naval miniatures from Figurehead Miniatures, which have incredible amounts of detail. However, they are not up to date. (any product line that says "modern Soviets" is not) I have to make some ultra-modern ships myself to complement the existing miniatures.
The above picture shows a Ford class aircraft carrier, two Independence class LCS, two Zumwault class stealth destroyers, a Ticonderoga class cruiser, and the tiny thing on the lower-right is a Swedish Visby class stealth corvette. Mostly, I found 3D files for these ships, then did some processing to make them small enough. Sometimes this involved reducing some detail, thickening some parts, etc. Then I added bases to them so they are easier to handle. Just a note on size - the bases are 1 to 1.5 mm thick!
A comparison with a Figurehead Miniatures Nimitz class carrier, which is supposed to be slightly smaller than a Ford class in real life. My miniatures have less detail, but they should serve as supplements for missing ships in the metal line.
I'm really encouraged by the printer so far, since it has behaved very well for me. I just have to start painting up some of these...